Resize Image Online Free: Fast and Easy
Resize image online free and change any photo to the exact pixel dimensions you need in under 30 seconds.
Your image is too large for the upload form. Your profile photo must be exactly 400 x 400 pixels. Your banner image needs to be 1200 x 628 pixels. Your client wants product photos at a specific width. Your website template requires images at a fixed dimension to display correctly.
Wrong image dimensions break layouts, fail upload requirements, and slow down websites. Right image dimensions fix all of that in seconds.
This guide shows you exactly how to resize image online free, which dimensions to use for every major platform, and how to get pixel-perfect results every single time without touching a single piece of software.
⚡ Quick Answer: Go to theconverterkit.com/image-resizer, upload your image, enter your target dimensions, and download your perfectly resized image instantly. Free, no sign-up, no watermarks, works on any device.
Table of Contents
- Why Resize Image Online Free?
- How to Resize Image Online Free in 3 Steps
- Resize Image Online Free: Pixels vs Percentage Explained
- Standard Image Dimensions for Every Major Platform
- Who Needs to Resize Image Online Free?
- Resize vs Compress: Understanding the Difference
- How to Resize Image Online Free Without Losing Quality
- What to Do After You Resize Image Online Free
- Common Mistakes to Avoid
- Frequently Asked Questions
Key Takeaways
- Resize image online free at Image Resizer, no account or software needed
- Set exact pixel dimensions or resize by percentage, whichever suits your workflow
- Works with JPG, PNG, WebP, BMP, GIF, and TIFF images on any device
- Resizing dimensions and compressing file size are two different operations, both may be needed
- After resizing, convert to WebP at Image to WebP for the smallest possible file size for web use
- Need to compress without changing dimensions? Use Image Compressor instead
Why Resize Image Online Free?
The need to resize image online free comes from a gap between the size images are created at and the size every platform, system, and workflow actually needs them to be.
Cameras and phones create images at enormous dimensions. A modern smartphone captures photos at 4000 x 3000 pixels or larger. A DSLR camera produces images at 6000 x 4000 pixels and beyond. These dimensions are designed for printing large format photographs at high quality. They are completely unnecessary and actively harmful for web, social media, and email use.
Every platform has specific dimension requirements. A Facebook profile photo must be at least 180 x 180 pixels. A LinkedIn banner image should be 1584 x 396 pixels. A Shopify product image works best at 2048 x 2048 pixels. A WordPress featured image depends on your theme. An email header image typically sits at 600 pixels wide. None of these match the dimensions your camera produces.
Incorrect image dimensions break website layouts. Every website theme is designed around specific image proportions. When you upload an image with wrong dimensions, the theme either crops it automatically in ways that cut off important content, stretches it in ways that distort the design, or displays it at inconsistent sizes that make the page look unprofessional.
Oversized images dramatically slow down websites. A 6000 x 4000 pixel image displayed in a 600-pixel-wide container on a webpage still forces every visitor to download the full 6000-pixel-wide image. Their browser then scales it down visually. The visitor waits for an image ten times larger than what they actually see. That wasted bandwidth costs you page load time, Google rankings, and visitor patience.
According to Google’s PageSpeed Insights documentation, serving images at their correct display dimensions is one of the top-ranked opportunities for improving website performance, directly affecting Core Web Vitals scores that influence search rankings.
Resizing images to the correct dimensions before uploading is one of the highest-impact, lowest-effort improvements available to any website owner or content creator.
How to Resize Image Online Free in 3 Steps
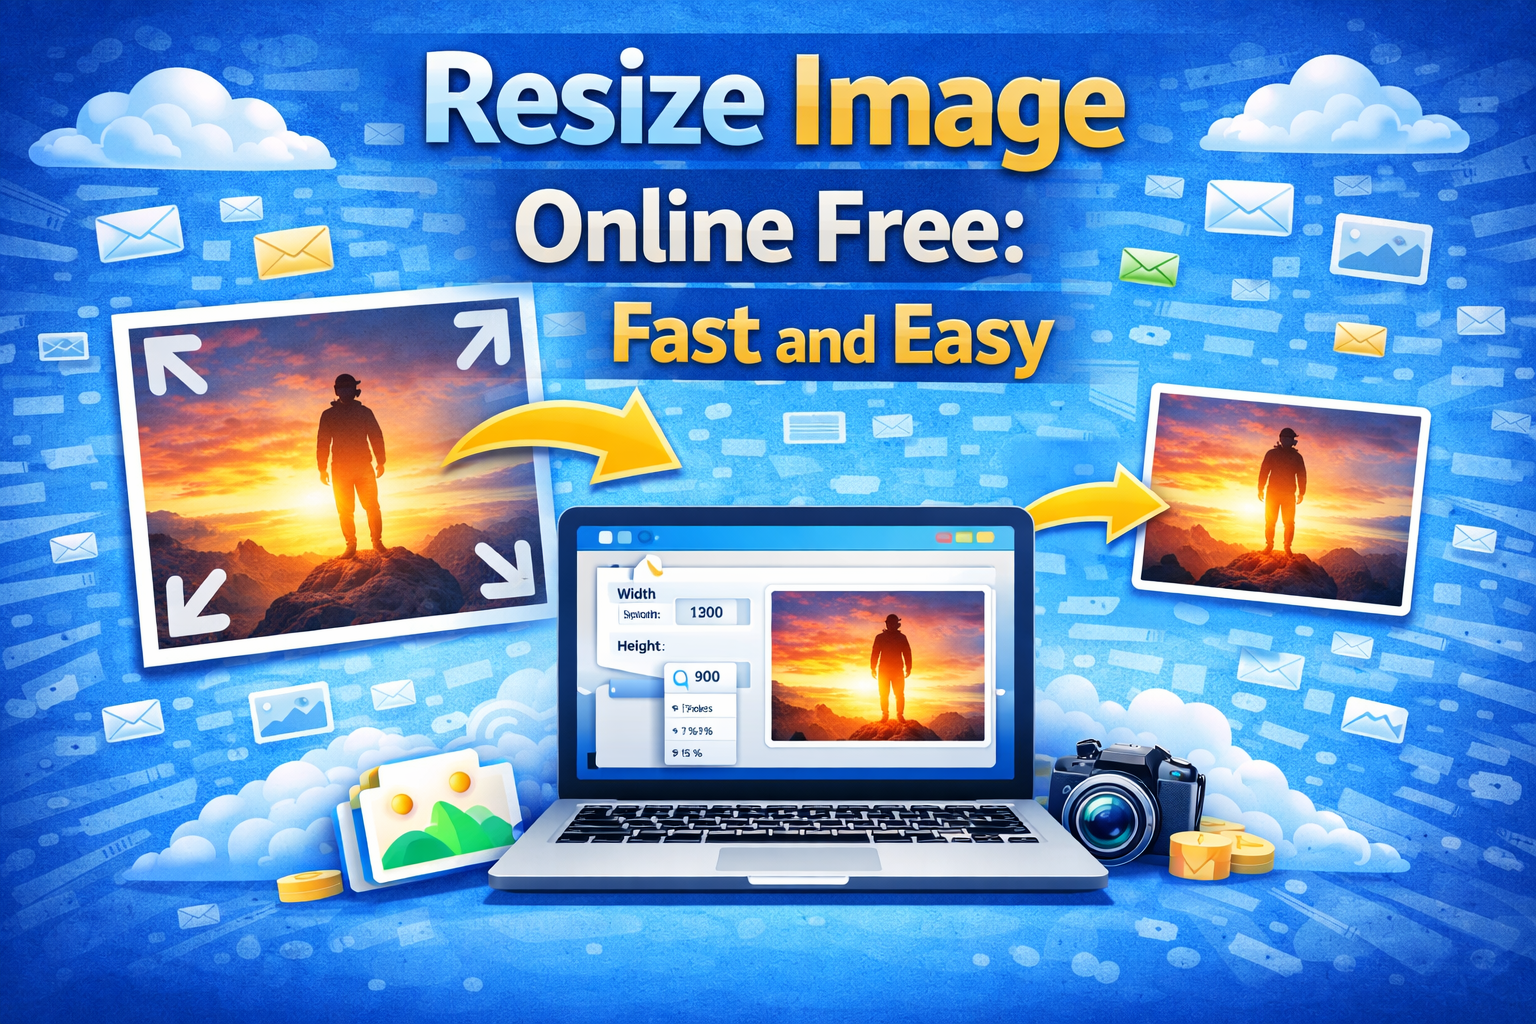
The fastest way to resize image online free is through theconverterkit.com/image-resizer. Follow these steps:
Step 1: Upload your image. Click the upload area or drag and drop your image directly onto the page. The tool accepts JPG, PNG, WebP, BMP, GIF, and TIFF files. Your image loads instantly with a preview showing the current dimensions so you can see exactly what you are working with before making any changes.
Step 2: Enter your target dimensions. Type your desired width and height in pixels, or enter a percentage to resize proportionally. The tool offers aspect ratio lock, which automatically adjusts the height when you change the width, keeping your image proportions correct and preventing distortion. If you need non-proportional dimensions for a specific platform requirement, unlock the aspect ratio and enter exact width and height values independently.
Step 3: Download your resized image. Click Resize and your image downloads immediately at exactly the dimensions you specified. The output format matches your input format. A JPG input produces a JPG output. A PNG input produces a PNG output at the new dimensions.
The entire process takes under 30 seconds for any standard image file.
Resize Image Online Free: Pixels vs Percentage Explained
When you resize image online free, you have two ways to specify the new size. Understanding both helps you choose the right approach for each situation.
Pixels give you exact, absolute dimensions. When you type 1200 in the width field, your output image is exactly 1200 pixels wide regardless of what the original size was. Use pixels when a platform, client, or system specifies exact dimension requirements. Most professional use cases require pixel-based resizing because upload requirements are always stated in pixels.
Percentage gives you proportional, relative dimensions. When you enter 50%, your output image is exactly half the dimensions of the original. A 4000 x 3000 pixel image at 50% becomes 2000 x 1500 pixels. Use percentage when you want to reduce an image by a consistent factor without calculating the exact pixel output. This is useful for batch preparation where all images need to be reduced by the same proportion.
| Situation | Use Pixels | Use Percentage |
| Uploading to a platform with exact requirements | Yes | No |
| Creating a profile photo | Yes | No |
| Reducing all images by half before emailing | No | Yes |
| Matching a theme’s required image dimensions | Yes | No |
| Quick size reduction without specific target | No | Yes |
| Social media post image preparation | Yes | No |
When in doubt, use pixels. Pixel-based resizing gives you guaranteed, predictable output dimensions that match upload requirements precisely.
Standard Image Dimensions for Every Major Platform
One of the most common reasons people resize image online free is to meet platform-specific dimension requirements. Here are the correct dimensions for every major platform in 2026:
Social Media Image Dimensions
| Platform | Image Type | Recommended Dimensions |
| Profile photo | 180 x 180 px | |
| Cover photo | 851 x 315 px | |
| Post image | 1200 x 630 px | |
| Square post | 1080 x 1080 px | |
| Portrait post | 1080 x 1350 px | |
| Story | 1080 x 1920 px | |
| Twitter / X | Profile photo | 400 x 400 px |
| Twitter / X | Header image | 1500 x 500 px |
| Twitter / X | Post image | 1200 x 675 px |
| Profile photo | 400 x 400 px | |
| Banner image | 1584 x 396 px | |
| Post image | 1200 x 627 px | |
| YouTube | Channel art | 2560 x 1440 px |
| YouTube | Thumbnail | 1280 x 720 px |
| Standard pin | 1000 x 1500 px |
Website and E-Commerce Image Dimensions
| Platform | Image Type | Recommended Dimensions |
| WordPress | Featured image | 1200 x 628 px (theme dependent) |
| Shopify | Product image | 2048 x 2048 px |
| Amazon | Product image | 1000 x 1000 px minimum |
| Etsy | Product listing | 2000 x 2000 px |
| WooCommerce | Product image | 800 x 800 px minimum |
| Email header | Newsletter | 600 x 200 px |
| Blog post | Hero image | 1200 x 630 px |
| Favicon | Browser tab icon | 32 x 32 px |
Save this reference. Every time you resize image online free for a specific platform, check this table first to confirm your target dimensions before uploading.
Who Needs to Resize Image Online Free?
The need to resize image online free appears across every profession and personal use case where images play any role at all.
Social media managers handle image preparation for multiple platforms daily. Every platform requires different dimensions for different content types. Resizing images to exact platform specifications before uploading prevents automatic cropping that cuts off faces, logos, and key content at unexpected points.
E-commerce store owners upload dozens of product images regularly. Every major e-commerce platform has specific image dimension requirements that directly affect how products display in search results, category pages, and product detail pages. Incorrect dimensions produce misaligned grids and unprofessional product galleries.
Web developers and designers work with precise pixel specifications for every image in a design system. Headers, hero images, thumbnails, avatars, and content images each have defined dimensions in the design. Resizing source images to exact specifications before uploading keeps the design consistent across the entire website.
Bloggers and content creators publish featured images, inline content images, and social sharing images for every post. Each of these image placements has optimal dimensions for display quality and social sharing preview appearance. Correct dimensions mean posts look professional in every context where they appear.
Job applicants and professionals upload profile photos to LinkedIn, company job portals, and professional directories. Most platforms specify exact pixel dimensions for profile photos. Uploading an incorrectly sized image produces a blurry, poorly cropped, or disproportionate profile photo that makes a poor first impression.
Email marketers design newsletters with image content that must display correctly across dozens of different email clients. Email images must be sized precisely to the email template width, typically 600 pixels wide, to prevent layout breakage in Gmail, Outlook, Apple Mail, and every other email client simultaneously.
Teachers and educators prepare digital learning materials with embedded images. Images in presentations, PDFs, and learning management system posts must fit within specific dimension constraints to display correctly on student screens without overflowing or appearing too small to read.
Photographers deliver client image galleries at specific dimensions defined in client contracts. Portrait photography clients typically receive images at 3000 pixels on the long edge for print use alongside web-optimized versions at 1500 pixels for digital sharing. Resizing to these delivery specifications is a standard final step in every photography workflow.
Resize vs Compress: Understanding the Difference
This is one of the most commonly confused concepts in image preparation. When you resize image online free, you are doing something completely different from compressing an image.
Resizing changes the pixel dimensions of an image. A 4000 x 3000 pixel image resized to 1200 x 900 pixels is now physically smaller in terms of pixel count. The image contains fewer pixels. The file downloads faster because there is simply less image data to transfer.
Compressing changes how efficiently the pixel data is stored. A 1200 x 900 pixel image compressed to 60% quality is still 1200 x 900 pixels. The dimensions have not changed. The image looks identical or nearly identical at normal viewing size. But the file size is smaller because the compression algorithm stores the pixel data more efficiently, discarding data the eye is unlikely to notice.
For best results, do both in sequence:
First resize image online free to the correct display dimensions using Image Resizer. Then compress the resized image using Image Compressor to reduce file size further. Finally, if the image is going on a website, convert to WebP using Image to WebP for the smallest possible final file size.
This three-step sequence produces images that are the right size, the smallest possible file, and in the most efficient web format available in 2026.
| Operation | What Changes | What Stays Same |
| Resize | Pixel dimensions | Visual quality |
| Compress | File storage efficiency | Pixel dimensions |
| Convert to WebP | File format | Pixel dimensions |
How to Resize Image Online Free Without Losing Quality
Image quality after resizing depends on one principle: you can always resize down without visible quality loss, but resizing up always reduces quality.
Resizing down preserves quality perfectly. When you reduce a 4000-pixel image to 1200 pixels, the resizing algorithm averages groups of pixels into single pixels. This process is mathematically clean and produces a sharp, high-quality smaller image. The human eye cannot detect quality loss when resizing down.
Resizing up (upscaling) always reduces quality. When you increase a 400-pixel image to 1200 pixels, the algorithm must invent pixels that did not exist in the original. This produces the classic blurry, soft, or pixelated appearance of upscaled images. No software can add real image detail that was not captured in the original.
The practical rule: always start with the largest version of your image. Before you resize image online free, find the highest resolution version of your image available. Resize down from that maximum to your target dimensions. Never try to resize a small image up to a larger size for professional use.
Lock aspect ratio to prevent distortion. When you resize image online free, always use the aspect ratio lock unless you specifically need non-proportional dimensions. Changing width without proportionally changing height, or vice versa, stretches the image in one direction and produces an obviously distorted result. Aspect ratio lock maintains the natural proportions of your image at any target size.
Match your resize target to the actual display size. The most common resizing mistake is making images slightly smaller than needed. If a platform displays images at 1200 pixels wide, resize to 1200 pixels, not 1180. Exact dimension matching prevents any upscaling by the display system that would soften your image.
💡 Pro Tip: Before you resize image online free for social media, check how the platform crops images in different placements. Facebook, for example, displays the same image at different dimensions in the feed, in link previews, and in the photo gallery.
Your most important visual content, faces, logos, and key text, should sit in the center 80% of your image to remain visible across all crop variations. Design and resize with the center-safe zone in mind, not just the overall dimensions.
What to Do After You Resize Image Online Free
Once you resize an image online free and have your correctly dimensioned image, several natural next steps improve the final result depending on your use case.
If you are preparing images for a website and want the smallest possible file size at your new dimensions, convert your resized image to WebP format at Image to WebP. WebP produces 25 to 35% smaller files than JPG at equivalent visual quality, directly improving your page load speed.
If you need to further reduce the file size of your resized image without changing its format, use Image Compressor to apply additional compression and bring the file size down as far as possible while maintaining acceptable visual quality.
If your resized image needs to be converted to JPG format for a platform that requires JPG specifically, use Image to JPG to convert the format after resizing.
If you need to combine multiple resized images into a single PDF document for sharing as a report or portfolio, use Image to PDF to create a clean multi-page PDF from your correctly sized images.
Common Mistakes to Avoid When You Resize Image Online Free
Resizing up from a small image expecting sharp results. Upscaling always produces soft, blurry images because the algorithm invents pixel data that does not exist. Always start with the largest source image available and resize downward to your target. If your only available image is small, the output quality of an upscaled version will not meet professional standards.
Changing width without locking aspect ratio. Entering a new width without adjusting height proportionally stretches the image vertically. Faces become tall and thin. Logos become distorted. Horizontal objects appear unnaturally narrow. Always use aspect ratio lock unless you have a specific reason to resize non-proportionally.
Confusing resize with compress and doing only one when both are needed. Resizing to correct dimensions reduces file size by eliminating unnecessary pixels. Compressing reduces file size by optimizing how remaining pixels are stored. Both operations together produce significantly smaller files than either operation alone. Do both for the best result.
Not checking the output at 100% zoom before uploading. After resizing, open the image and view it at 100% to verify sharpness, correct proportions, and that no important content was cropped. Small problems are invisible at reduced viewing sizes but immediately obvious at full size and in professional contexts.
Using the resized image directly from your camera without checking dimensions first. Many people upload camera images assuming the resize was applied correctly without verifying the output dimensions. Always check the file properties of your downloaded image to confirm it is exactly the dimensions you specified before uploading to any platform.
Preparing images at the wrong dimensions for print vs web. Screen images are measured in pixels at 72 to 96 DPI. Print images are measured in pixels at 300 DPI. A 1200 x 630 pixel image looks great on a website but prints at only about 4 x 2 inches at print quality. If your resized image is going to print, calculate the pixel dimensions required for your print size at 300 DPI before resizing.
Frequently Asked Questions
How do I resize image online free?
Go to theconverterkit.com/image-resizer, upload your image, enter your target pixel dimensions or percentage, and download your resized image instantly. The process takes under 30 seconds with no sign-up required.
Does resizing an image reduce its quality?
Resizing down to smaller dimensions never produces visible quality loss. Resizing up to larger dimensions always reduces sharpness because the algorithm must invent pixel data that did not exist in the original. Always resize from the largest available source image downward to your target.
What is the difference between resizing and compressing an image?
Resizing changes the pixel dimensions of an image. Compressing changes how efficiently the pixel data is stored without changing dimensions. Both reduce file size but through completely different mechanisms. For the smallest possible files, do both in sequence.
Can I resize image online free on my phone?
Yes. The tool runs in any mobile browser on iPhone and Android. No app download is needed. Upload, resize to your target dimensions, and download directly on your phone.
What image formats can I resize?
The tool accepts JPG, PNG, WebP, BMP, GIF, and TIFF files. The output format matches your input format automatically.
How do I resize an image to exactly 1200 x 628 pixels?
Go to theconverterkit.com/image-resizer, upload your image, unlock the aspect ratio if needed, enter 1200 in the width field and 628 in the height field, and download. Your output image will be exactly 1200 x 628 pixels.
Is it safe to upload my images to resize them?
Yes. Your file is uploaded over an encrypted HTTPS connection, processed immediately, and deleted from the server automatically. It is never stored, shared, or accessed by anyone.
What is the best image size for a website?
For most web use cases, 1200 pixels wide is a good standard for full-width images. Blog post featured images work well at 1200 x 628 pixels. Product images work well at 800 x 800 to 2048 x 2048 pixels depending on the platform. After resizing, convert to WebP at Image to WebP for the fastest possible loading speed.
Related Tools
- Image Resizer — Resize image online free to exact pixel dimensions
- Image Compressor — Reduce image file size after resizing
- Image to WebP — Convert resized images to the fastest web format
- Image to JPG — Convert resized images to universal JPG format
- Image to PDF — Combine resized images into a PDF document
- Image to SVG — Convert images to scalable vector format for logos
Conclusion
When you resize images online free, you solve one of the most common and most impactful problems in digital content work. Wrong dimensions break layouts, fail upload requirements, slow down websites, and make content look unprofessional in every context where it appears.
Right dimensions fix all of that instantly.
Whether you are preparing social media graphics at exact platform specifications, optimizing product images for an e-commerce store, delivering client photography at contract-specified dimensions, or simply making an image fit an upload form that keeps rejecting your file, The Converter Kit’s Image Resizer gives you pixel-perfect results in under 30 seconds, completely free, on any device.
Go to theconverterkit.com/image-resizer and resize the image online free right now.